Outline
-
- Introduction
- Common problems with brick chimneys
- Assessing the damage
- Tools and materials needed for chimney repair
- Step 1: Preparing the work area
- Step 2: Cleaning the chimney
- Step 3: Removing damaged bricks
- Step 4: Replacing damaged bricks
- Step 5: Mortar application and brick alignment
- Step 6: Finishing touches and maintenance tips
Introduction
The charm of a brick chimney adds character and warmth to any home. However, over time, wear and tear can take its toll, causing issues such as cracks, leaks, and deterioration. If you’re facing these problems, don’t fret! In this comprehensive guide, we will walk you through the step-by-step process of repairing your brick chimney, ensuring it stands strong for years to come.
From identifying the root cause of the damage to sourcing the right materials and tools, we’ve got you covered. Our expert advice will help you navigate through each stage of the repair process with confidence. Whether you’re a seasoned DIY enthusiast or tackling a home improvement project for the first time, this guide is packed with clear instructions and useful tips to achieve professional results.
Rest assured, we’ve left no stone unturned in providing you with all the knowledge you need. No more wasting time searching for answers or wondering if you’re doing it right. Let’s get started and restore your brick chimney to its former glory!
Common problems with brick chimneys
Brick chimneys, although sturdy and long-lasting, are not immune to damage. Over time, certain issues can arise, requiring timely repairs. Here are some common problems you may encounter with your brick chimney:
1. Cracks: Cracks can occur due to various reasons, including weather conditions, settling of the foundation, or age-related deterioration. These cracks can compromise the structural integrity of the chimney and lead to water leaks.
2. Leaking: A leaking chimney can cause water damage to your home’s interior and exterior. The most common causes of chimney leaks are damaged flashing, deteriorated mortar joints, or a cracked chimney crown.
3. Deterioration: Over the years, exposure to the elements can cause the bricks and mortar to deteriorate. This can lead to loose bricks, crumbling mortar, and an overall weakened chimney structure.
Identifying the specific problem with your brick chimney is crucial before proceeding with repairs. Now, let’s move on to assessing the damage.
Assessing the damage
Before you start repairing your brick chimney, it’s essential to assess the extent of the damage. This will help you determine the scope of the repairs needed and ensure you have the appropriate materials and tools. Follow these steps to assess the damage:
1. Visual Inspection: Start by visually inspecting your chimney from the ground level. Look for any visible cracks, loose or missing bricks, and signs of water damage. Pay attention to the mortar joints as well, as deteriorated mortar can weaken the chimney’s structure.
2. Interior Examination: If possible, inspect the interior of your chimney. Shine a flashlight up the flue and check for any signs of water stains or moisture. This can indicate a leaking chimney or damaged flue lining.
3. Professional Inspection: In some cases, it may be necessary to hire a professional chimney inspector. They can conduct a thorough inspection, including using specialized tools to assess the condition of the chimney’s interior and exterior.
Once you have a clear understanding of the damage, you can proceed to gather the necessary tools and materials for the repair process.
Tools and materials needed for chimney repair
To successfully repair your brick chimney, you’ll need the right tools and materials. Here’s a list of essential items you should have on hand:
1. Safety Gear: Prioritize your safety by wearing protective gear such as safety goggles, gloves, and a dust mask. This will protect you from potential hazards, including particles released during the repair process.
2. Masonry Tools: Gather a set of masonry tools, including a brick hammer, chisel, trowel, jointing tool, and a wire brush. These tools will help you remove damaged bricks, clean the chimney, and apply new mortar.
3. Bricks and Mortar: Purchase enough bricks to replace the damaged ones. Ensure they match the existing ones in size, color, and texture. Additionally, acquire mortar mix suitable for chimney repairs. Opt for a high-quality mortar that will provide durability and weather resistance.
4. Flashing and Sealant: If your chimney flashing is damaged or worn out, consider replacing it. Choose a suitable flashing material, such as stainless steel or copper, to ensure proper water drainage. Additionally, have a high-quality chimney sealant to prevent future leaks.
5. Waterproofing Solution: To protect your chimney from water damage, invest in a waterproofing solution. This will help prolong the life of your repairs and prevent future issues.
Now that you have all the necessary tools and materials, it’s time to dive into the step-by-step repair process!
Step 1: Preparing the work area
Before you begin repairing your brick chimney, it’s important to prepare the work area. Follow these steps to ensure a smooth repair process:
1. Safety Precautions: Start by ensuring the area around your chimney is clear of any obstacles or hazards. Remove any furniture, plants, or decorations that may obstruct your work or pose a safety risk.
2. Cover Surrounding Areas: Protect the surrounding areas, such as the roof and ground, by covering them with tarps or drop cloths. This will prevent debris or mortar from causing damage or staining.
3. Secure Ladders and Scaffolding: If you require ladders or scaffolding for accessing higher parts of the chimney, ensure they are secure and stable. Follow the manufacturer’s instructions for proper setup and use.
By taking these preparatory steps, you’ll create a safe and organized work environment, setting the stage for successful chimney repairs.
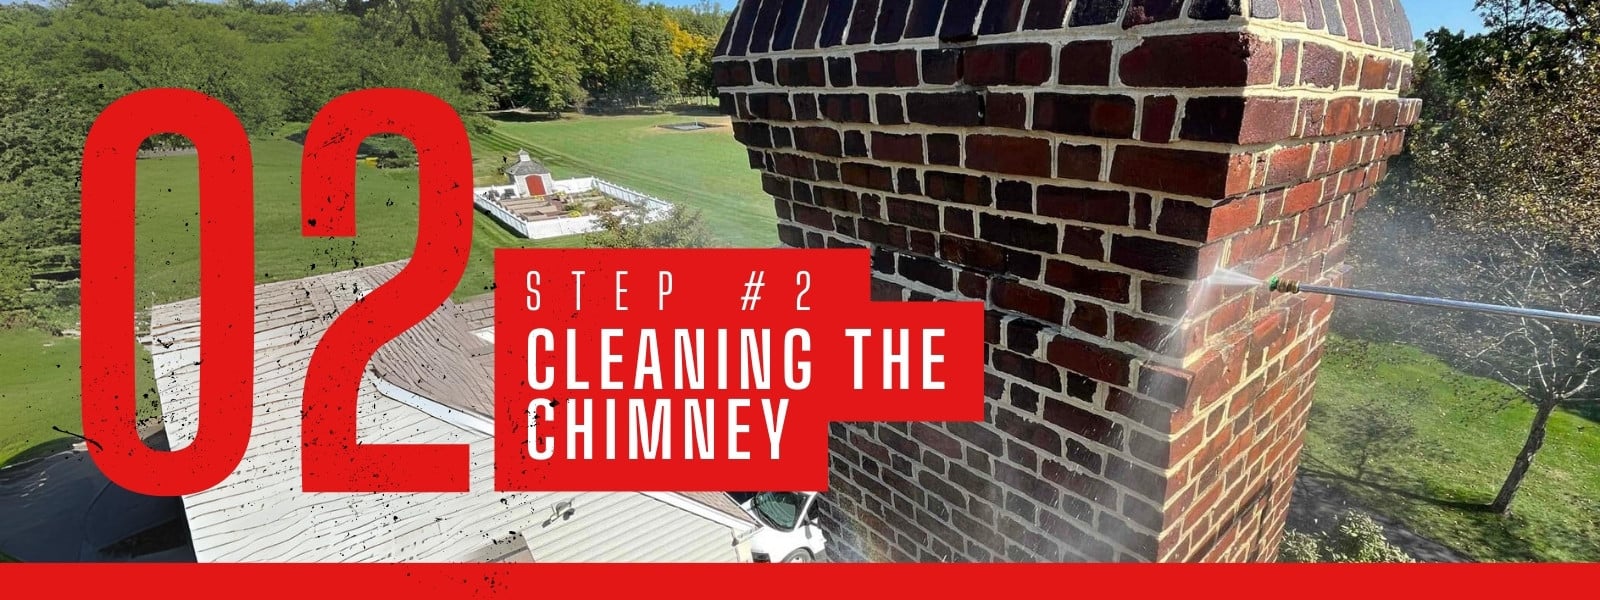
Step 2: Cleaning the chimney
Cleaning the chimney is a crucial step before proceeding with any repairs. It removes dirt, debris, and loose mortar, ensuring a clean surface for the repair work. Follow these steps to clean your chimney effectively:
1. Remove Loose Debris: Use a wire brush or a stiff bristle brush to remove loose debris and dirt from the chimney’s exterior. Pay close attention to the mortar joints, as old and deteriorated mortar should be removed.
2. Power Washing: If your chimney is heavily soiled or has stubborn stains, consider using a power washer. Adjust the pressure to a moderate level to avoid damaging the bricks or mortar. Start from the top and work your way down, keeping the nozzle at a safe distance.
3. Chemical Cleaning: In some cases, you may need to use a chemical cleaner to remove stubborn stains or mold. Choose a cleaner specifically formulated for masonry surfaces and follow the manufacturer’s instructions.
Cleaning your chimney thoroughly will ensure a solid foundation for the repair work. Now, let’s move on to removing the damaged bricks.
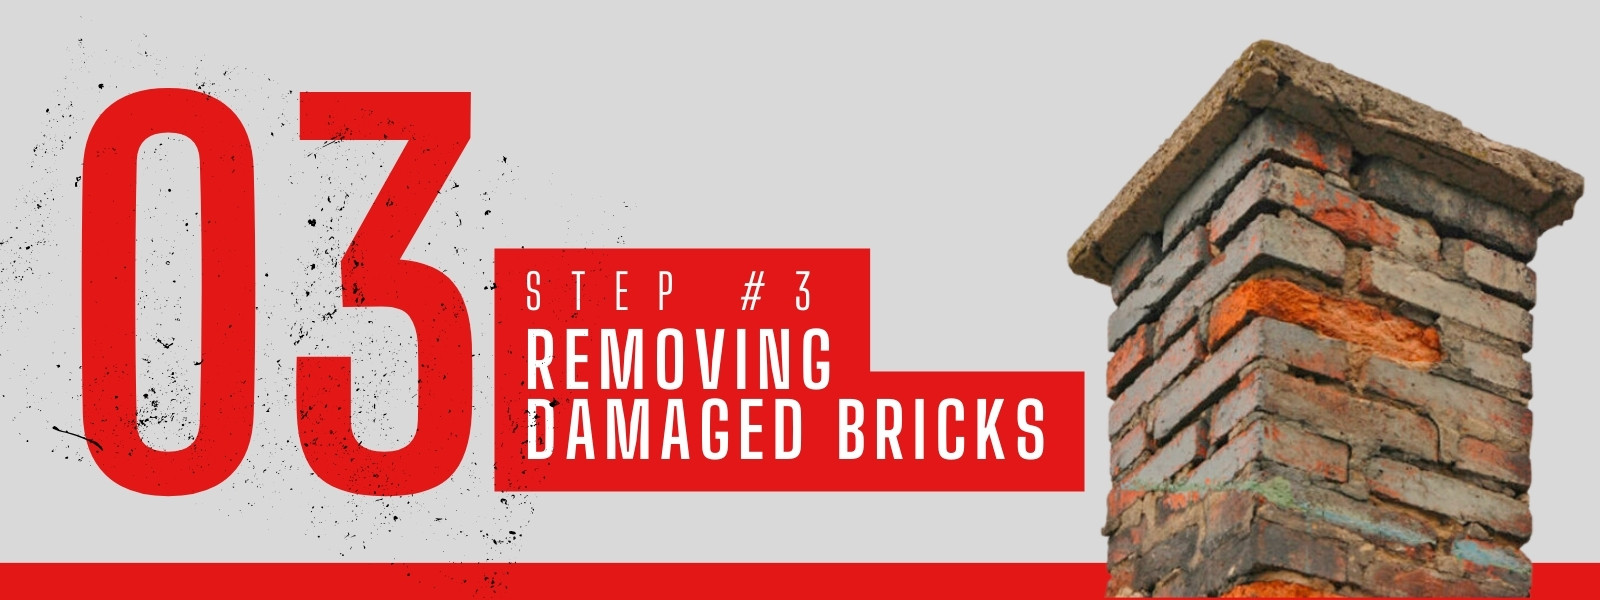
Step 3: Removing damaged bricks
To repair your brick chimney, you’ll need to remove any damaged or deteriorated bricks. Here’s how you can do it:
1. Safety Precautions: Put on your safety gear, including goggles and gloves, to protect yourself from flying debris. If working at heights, secure yourself with a safety harness or use scaffolding.
2. Identify Damaged Bricks: Inspect the chimney and identify the bricks that need to be replaced. Look for cracks, loose bricks, or bricks with crumbling mortar.
3. Brick Removal: Use a brick hammer and chisel to carefully remove the damaged bricks. Start by chiseling away the mortar around the brick, working from top to bottom. Once the mortar is sufficiently removed, gently tap the brick with the hammer to loosen it. Carefully remove the brick from the chimney.
Removing damaged bricks requires patience and accuracy. Take your time to ensure you don’t cause any further damage to the surrounding bricks or mortar. Now that you’ve removed the damaged bricks, it’s time to replace them.
Step 4: Replacing damaged bricks
Replacing damaged bricks is a critical part of the chimney repair process. Follow these steps to ensure a seamless replacement:
1. Clean the Cavity: Remove any loose debris or mortar from the cavity left by the removed brick. Use a wire brush or a vacuum to clean the area thoroughly.
2. Apply Mortar: Mix the mortar according to the manufacturer’s instructions. Apply a layer of mortar to the bottom and sides of the cavity using a trowel.
3. Insert the Replacement Brick: Carefully insert the replacement brick into the cavity, pressing it firmly into the mortar. Ensure it aligns properly with the surrounding bricks.
4. Mortar Joints: Apply mortar to the joints around the replacement brick, using a jointing tool or a trowel. Smooth the mortar joints to match the existing ones for a cohesive look.
Repeat these steps for each damaged brick you need to replace. Take your time to ensure each replacement brick fits snugly and is properly aligned. Now, let’s move on to the next crucial step – mortar application and brick alignment.
Step 5: Mortar application and brick alignment
Applying mortar and aligning the bricks is essential to ensure a strong and visually appealing chimney. Follow these steps for mortar application and brick alignment:
1. Prepare the Mortar: Mix the mortar according to the manufacturer’s instructions. The consistency should be similar to peanut butter – not too dry or too wet.
2. Apply Mortar Bed: Use a trowel to apply a mortar bed along the top surface of the previously replaced bricks. Ensure the mortar bed is of uniform thickness, typically around 1/2 inch.
3. Brick Placement: Place the bricks on the mortar bed, aligning them with the existing bricks. Press them firmly into place, ensuring they are level and plumb. Use a level and a straightedge to check for proper alignment.
4. Mortar Joints: Fill the mortar joints between the bricks using a trowel or a jointing tool. Ensure the mortar is evenly distributed and fills the gaps completely. Use a pointed trowel to create a concave shape in the mortar joints for better water runoff.
By following these steps, you’ll achieve a sturdy chimney structure with properly aligned bricks. Now, let’s move on to the final step – adding the finishing touches and essential maintenance tips.
Step 6: Finishing touches and maintenance tips
Congratulations on successfully repairing your brick chimney! However, there are a few finishing touches and maintenance tips that will ensure the longevity of your repairs. Follow these guidelines:
1. Curing Time: Allow the mortar to cure for at least 24 to 48 hours before subjecting it to heavy use or exposing it to water. This will help the mortar achieve maximum strength.
2. Chimney Waterproofing: Once the mortar has cured, consider applying a waterproofing solution to protect your chimney from water damage. Follow the manufacturer’s instructions for proper application.
3. Regular Inspections: Schedule regular inspections of your chimney to catch any early signs of damage or deterioration. Addressing issues promptly will prevent costly repairs in the future.
4. Chimney Maintenance: Keep your chimney in good condition by regularly cleaning it from soot and debris. Additionally, trim any nearby tree branches that may pose a risk of falling onto the chimney.
By following these finishing touches and maintenance tips, you’ll ensure the longevity of your brick chimney repairs and enjoy its warmth and charm for years to come.

